
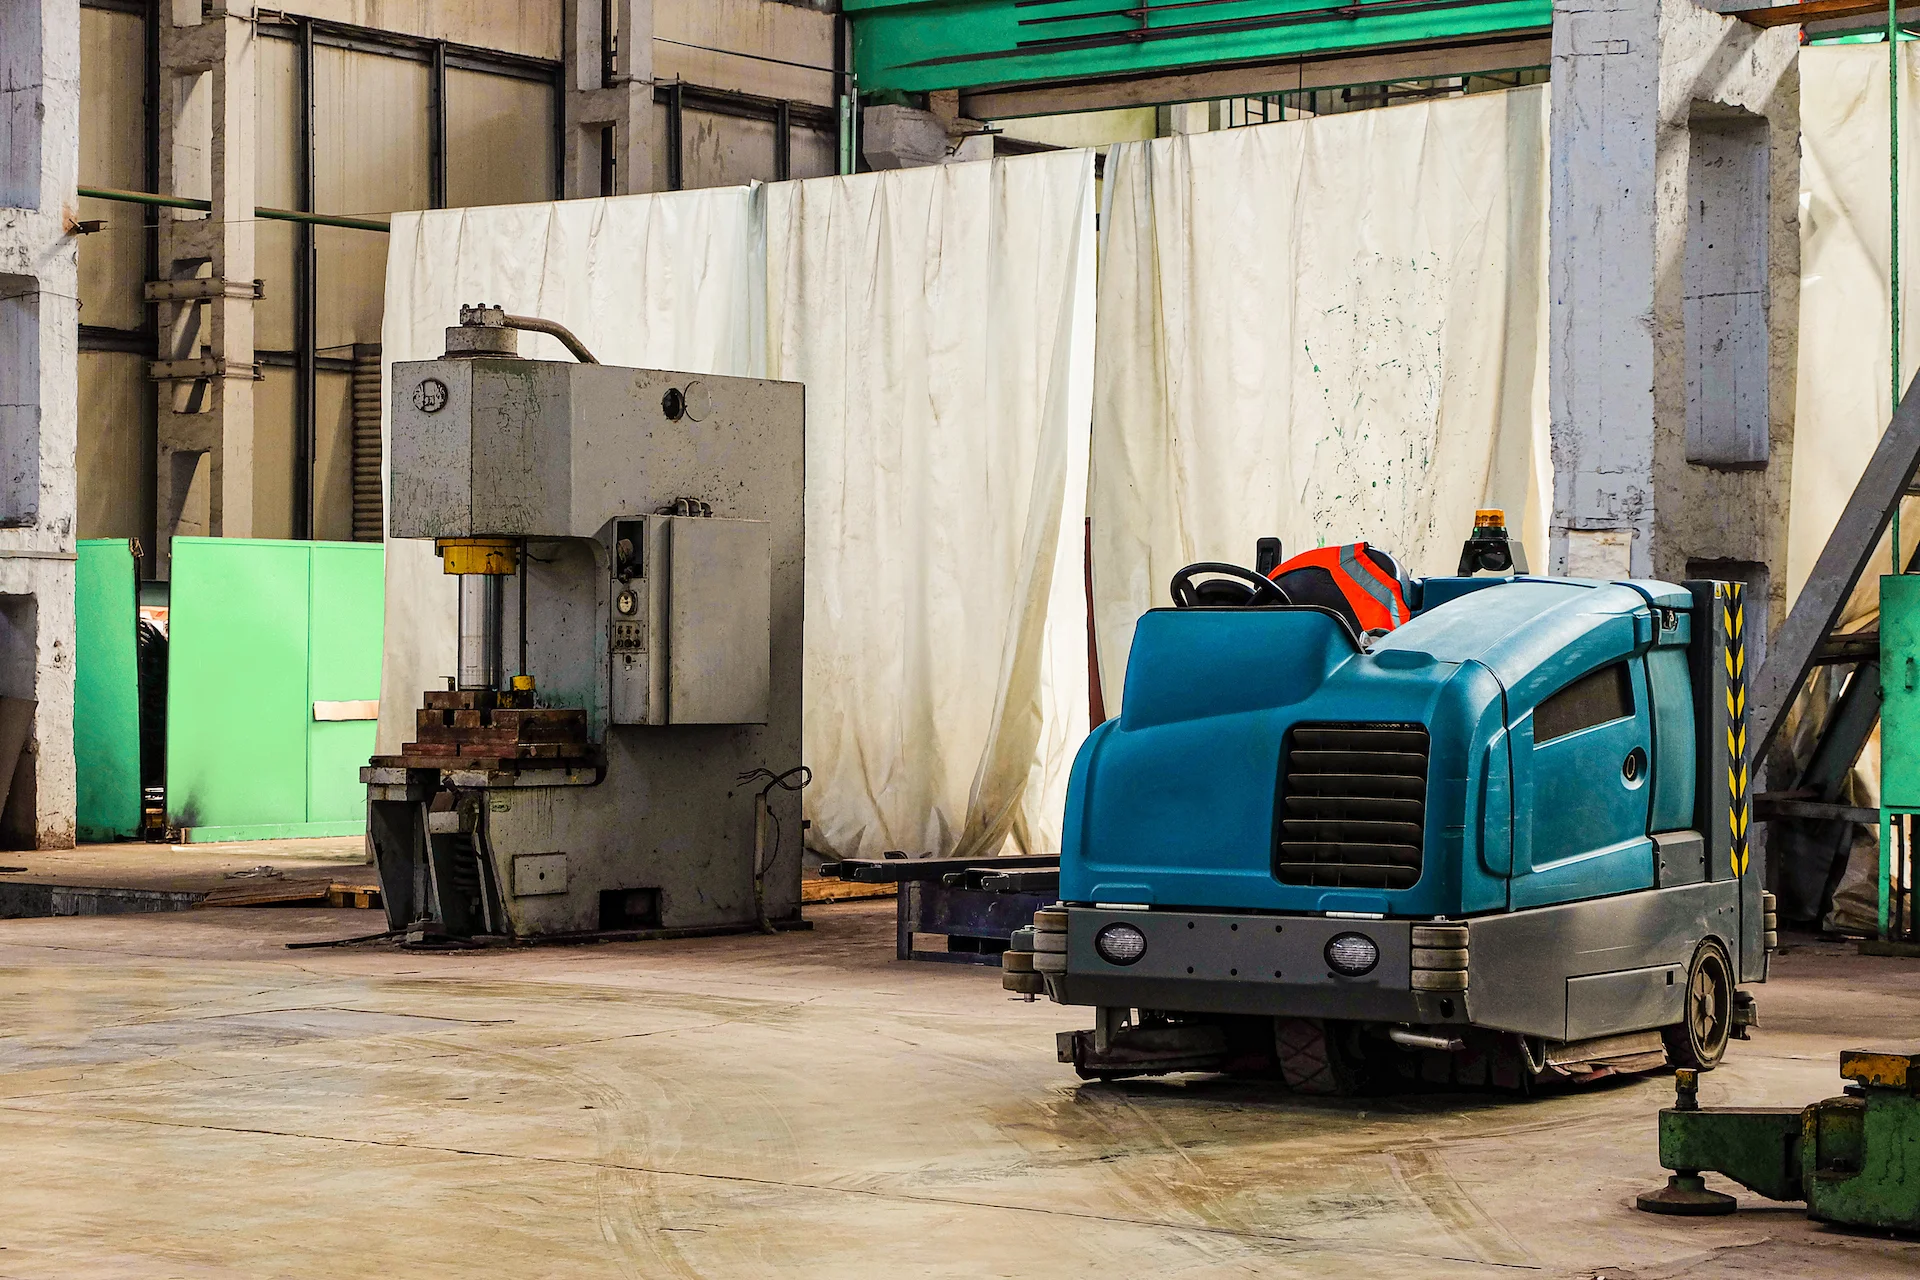
Most conversations about auto scrubber chemicals start and end with the cleaner in the solution tank. That is about a third of the problem. An auto scrubber is a closed loop — solution goes down, soil and solution come back up — and the chemistry has to behave correctly at both ends of that loop. Get the solution-tank side right and the recovery side wrong, and the machine still underperforms.
This guide covers the maintenance side of scrubber chemistry: how foam actually gets into a recovery tank, what low-foam chemistry does and does not mean, when a defoamer is the right answer, how to keep a recovery tank from becoming the limiting factor, and how pads and squeegees change the chemistry decision. It is written for the people responsible for keeping the machines running, not just for the people buying the drum.
If you are earlier in the process and still deciding which chemistry belongs on your floors in the first place, start with Best Floor Cleaning Chemicals for Distribution Centers and Warehouses — this guide picks up where that one leaves off.
Foam does not stay in the solution tank. It is generated at the floor, picked up by the squeegee, and delivered into the recovery tank, where it expands. Three things go wrong from there.
The float shuts the vacuum down. Nearly every auto scrubber has a float or ball shut-off in the recovery tank to stop liquid reaching the vacuum motor. Foam trips that float long before the tank is actually full of water. The operator sees a full-tank indication at half capacity, dumps, refills, and loses the time twice.
Water recovery gets worse. A foam-loaded recovery path moves air unevenly. Pickup drops, and the machine starts leaving a wet film behind — which is both a slip exposure under OSHA’s walking-working surfaces standard (1910.22) and the reason the floor looks streaked an hour later.
The vacuum motor takes the damage. Foam that carries past the float reaches the motor. This is the most expensive failure mode on the machine and one of the most common, and it is almost always chemistry-driven.
None of that shows up on a product label. It shows up in your maintenance spend.
Low-foam is not weak. Foaming and cleaning strength are unrelated properties — foam is a function of the surfactant package and how it behaves under agitation, not a measure of how much soil the product removes. A cleaner can be aggressive on grease and still produce almost no foam under a rotating pad.
What matters for a scrubber is that the product is formulated for mechanical agitation. A cleaner designed for mop-and-bucket work is being asked to foam a little, because operators read suds as evidence it is working. Put that same product under a pad spinning at a few hundred RPM and it does exactly what it was designed to do, much more of it, in a place you do not want it.
The second property to look for is rinsability. A free-rinsing cleaner leaves less residue on the floor, and residue is what makes the next pass foam more than the last one. Non-dulling matters too if any of your floors are coated or finished.
When a scrubber starts foaming, it is worth knowing which of these you are dealing with, because the fix is different for each.
The simplest case, and the easiest to rule out: a product not formulated for machine use. If a new chemistry coincided with the foam, this is the answer.
The most common case by a wide margin. Crews mixing by eye run the tank strong, because stronger feels safer. Excess surfactant has nowhere to go but into foam, and it also leaves more residue on the floor, which loads the next fill. The product is not the problem; the ratio is.
The case people forget. Detergent residue from a previous program, floor finish being stripped, food-plant soils, protein, and some cutting-fluid and coolant residues all foam independently of what is in your tank. A machine that foams only in one zone of the building is telling you the soil is the source, not the chemistry.
A plant that has recently switched cleaners will often see weeks of unexplained foaming while the old product’s residue lifts out of the floor. That is expected and it resolves.
Match the product to the soil load, not to the machine. The machine constrains foam and rinsability; the soil decides strength.
| Typical soil | Where it shows up | Chemistry to specify |
|---|---|---|
| Tracked-in dust, light traffic film, general maintenance soil | Aisles, offices, retail-facing areas, finished floors | Neutral, free-rinsing, non-dulling daily cleaner |
| Grease, oil, forklift and tire film, heavier production soil | Docks, staging lanes, maintenance bays, production aisles | Heavy-duty dilutable degreaser, free rinsing |
| Baked-on or built-up industrial soil where a neutral product has stopped keeping up | Older concrete, high-soil zones, periodic deep cleans | Controlled alkaline cleaner at an economical dilution |
Caliber is a multi-purpose, multi-surface neutral cleaner that IRC specifies for auto scrubber use directly, alongside spray bottles, mopping, and foaming or brush methods. It is free-rinsing and non-dulling on finished floors, safe on all surface substrates, works under hard water conditions, and is concentrated enough to run at economical dilution ratios. For most facilities this is the tank default, with something heavier held back for problem zones.
Power 7 is a heavy-duty, highly dilutable degreaser whose surfactants penetrate, release, and clean while staying free-rinsing and non-dulling on finished floors. It works under hard water conditions and is safe on all surface substrates. The practical use is zone-based: run the neutral product on the general floor and bring Power 7 in for docks, bays, and the lanes that actually see grease.
Optima is a highly alkaline synthetic caustic builder (pH 10.5 in 1% solution) with wetting agents and European surfactants for soil penetration across a range of water conditions. It is medium-to-low foaming and free rinsing, and it is designed to replace more dangerous caustics while still cleaning at very economical dilution rates. Reserve it for the heaviest built-up soil, and check compatibility on coated or sensitive floors first.
The full range is on the degreasers and multi-surface cleaners category page. If you are unsure which product family a given task belongs to, Cleaner vs. Degreaser vs. Disinfectant lays out the distinctions.
A defoamer is a corrective tool, not part of a healthy program. Adding one to the recovery tank collapses foam so the float stops tripping early and the vacuum motor stays protected. It does nothing about why the foam exists.
Use one when the foam source is outside your control — you are stripping finish, lifting a previous contractor’s residue, or running a zone whose soil foams on its own. In those situations the defoamer is doing exactly the job it was designed for.
Do not use one to make an unsuitable cleaner workable. If a defoamer is a permanent line item, the tank chemistry or the dilution ratio is wrong, and you are now buying two products to do the work of one.
Practical notes on use:
Solution tanks get attention because that is where the chemistry goes in. Recovery tanks get ignored, and then the machine develops odour, poor pickup, and float problems that get blamed on the cleaner.
A recovery tank holds everything the floor gave up: soil, fines, fibre, grease, and dissolved chemistry. Left in the tank overnight, it settles into a film on the tank walls and packs into the hose and the float cage. That film changes the tank’s behaviour — it holds foam, restricts airflow, and gives new soil something to cling to.
| Interval | Task | Why |
|---|---|---|
| End of every shift | Drain the recovery tank completely; flush with clean water until the runoff is clear | Stops soil settling and film forming; the single highest-value habit on the list |
| End of every shift | Remove and rinse the debris tray or basket; clear the float cage and vacuum inlet screen | A blocked float cage causes false shut-offs that look exactly like a foam problem |
| End of every shift | Leave the tank lid open overnight | Lets the tank dry out; the simplest way to prevent odour build-up |
| End of every shift | Rinse the drain hose through | Grease and fines accumulate in the hose before they show anywhere else |
| Weekly | Flush the tank with a diluted degreaser solution, then rinse thoroughly with clean water | Removes the film that plain water rinsing leaves behind |
| Weekly | Inspect the float assembly and vacuum hose for restriction and wear | Catches the failures that eventually reach the vacuum motor |
| Monthly | Inspect the tank gasket and lid seal | A poor seal reduces water lift and worsens pickup regardless of chemistry |
If a scrubber has developed a persistent odour, the recovery tank and hose are where it lives. That is a cleaning task, not a fragrance task.
The chemistry, the pad, and the squeegee are one system. Changing any of them changes what the other two need to do.
Pad aggression and chemistry strength trade off against each other. A more aggressive pad does more mechanical work, which means the chemistry can often be milder. Facilities that run an aggressive pad and a strong cleaner on a lightly soiled floor are paying twice, wearing the floor twice, and generating more foam than either choice would alone.
A worn or contaminated pad foams. A pad loaded with old detergent and fine soil releases that load back into the solution on the next run. Pads should be rinsed at the end of every shift and rotated, not run until they fall apart.
The squeegee decides whether chemistry ever reaches the recovery tank. A nicked, worn, or badly adjusted squeegee blade leaves solution on the floor. That solution dries into residue, the residue foams on the next pass, and the floor looks streaked — all of which reads as a chemistry failure and none of which is. Check blade edges daily, rotate the blade rather than replacing it at the first wear point, and confirm deflection is even across the full width.
Detail the squeegee assembly when you drain the tank. Debris caught behind the blade breaks the water seal along its entire length.
An auto scrubber is the worst place in a facility to mix by eye. The volumes are large, the fills are frequent, the person filling is usually working against a schedule, and the consequence of an over-strong tank — foam, residue, a tripped float, a wet floor — is invisible until the machine is halfway down an aisle.
A dispenser fixes the ratio at the fill point. The Hi-Flow Dispenser is built specifically for this, dispensing at 14 GPM so a 20-gallon tank fills in roughly 90 seconds rather than several minutes on a standard bucket-fill eductor — which matters, because a slow fill is precisely what tempts crews to pour concentrate straight into the tank and top it with a hose. For facilities standardizing several products from one station, the Fusion Pro – Four Chemical Dispenser handles up to four chemicals at set rates.
The full argument, including the arithmetic on what overpouring costs annually, is in Dilution Control Systems: How They Reduce Chemical Waste and Cleaning Costs.
For a broader view of how these choices fit together across a facility, How to Choose the Right Industrial Degreaser for Your Facility covers the underlying decision framework, and our distribution centers page shows how the same program applies across a large logistics footprint.
Use a cleaner formulated for machine use: low-foaming under mechanical agitation, free-rinsing, and non-dulling if any of your floors are coated. A neutral daily cleaner handles most of the floor; a heavy-duty dilutable degreaser handles docks, bays, and grease-loaded lanes. Avoid products designed for mop-and-bucket work, which are often formulated to foam.
Three usual causes, in order of likelihood: the solution tank is over-concentrated, the cleaner is not formulated for machine use, or the soil being picked up foams on its own — old detergent residue, floor finish being stripped, or protein and food soils. Check your dilution ratio first; it is the cause more often than the product is.
Only when the foam comes from something you cannot change — stripping work, residue from a previous chemistry program, or an inherently foaming soil. Dose it into the recovery tank rather than the solution tank, add it before you start, and use the minimum effective amount. If you need it every day, the tank chemistry or the dilution ratio is the real issue.
Drain and flush it with clean water at the end of every shift, clear the debris tray and float cage at the same time, and leave the lid open overnight to dry. Flush the tank with a diluted degreaser solution weekly, and inspect the float assembly, hose, and lid gasket while you do it.